In both places that I’ve lived as an old married lady, we’ve had a kitchen utensil Drawer of Doom. Shelf liner all scrunched up with the force of opening and closing the drawer, utensils all askew and angry. It’s not a good scene. Every time I opened the thing I cringed with the shame of treating my possessions so poorly.
Ever-averse to buying my way out of a problem so simply solved and somewhat restricted by our renter status, inspiration struck: we don’t need fancy wooden drawer dividers, we have cardboard boxes! And, as anyone who has observed a young child or cat around cardboard boxes knows, they can do anything!
So, I finally got irked enough to do something about it and life has been so much better.
Materials and tools:
- Cardboard box of sufficient size to be larger than the drawer you want to divide
- Tape
- Scissors (or box cutters, but scissors work fine)
Sadly, I got too far in cleaning out the mess to get a before shot. And I might have been too ashamed to post it anyway. Use your imagination!
Procedure:
- Take everything out of the messy drawer. Chuck/donate/etc. anything that you can. Downsizing is the mother of all organization.
- Group your stuff by size, shape, frequency of use, etc.
- Look at the groups for a minute and try to envision the best way to divide your drawer to suit your stuff. I ended up going with just one divider because my stuff is too weirdly shaped to group easily within dividers. It has worked well so far.
- Secure your drawer liner if that is part of the problem. I used plain old scotch tape, which although it is not holding up super duper securely, it is getting the job done.
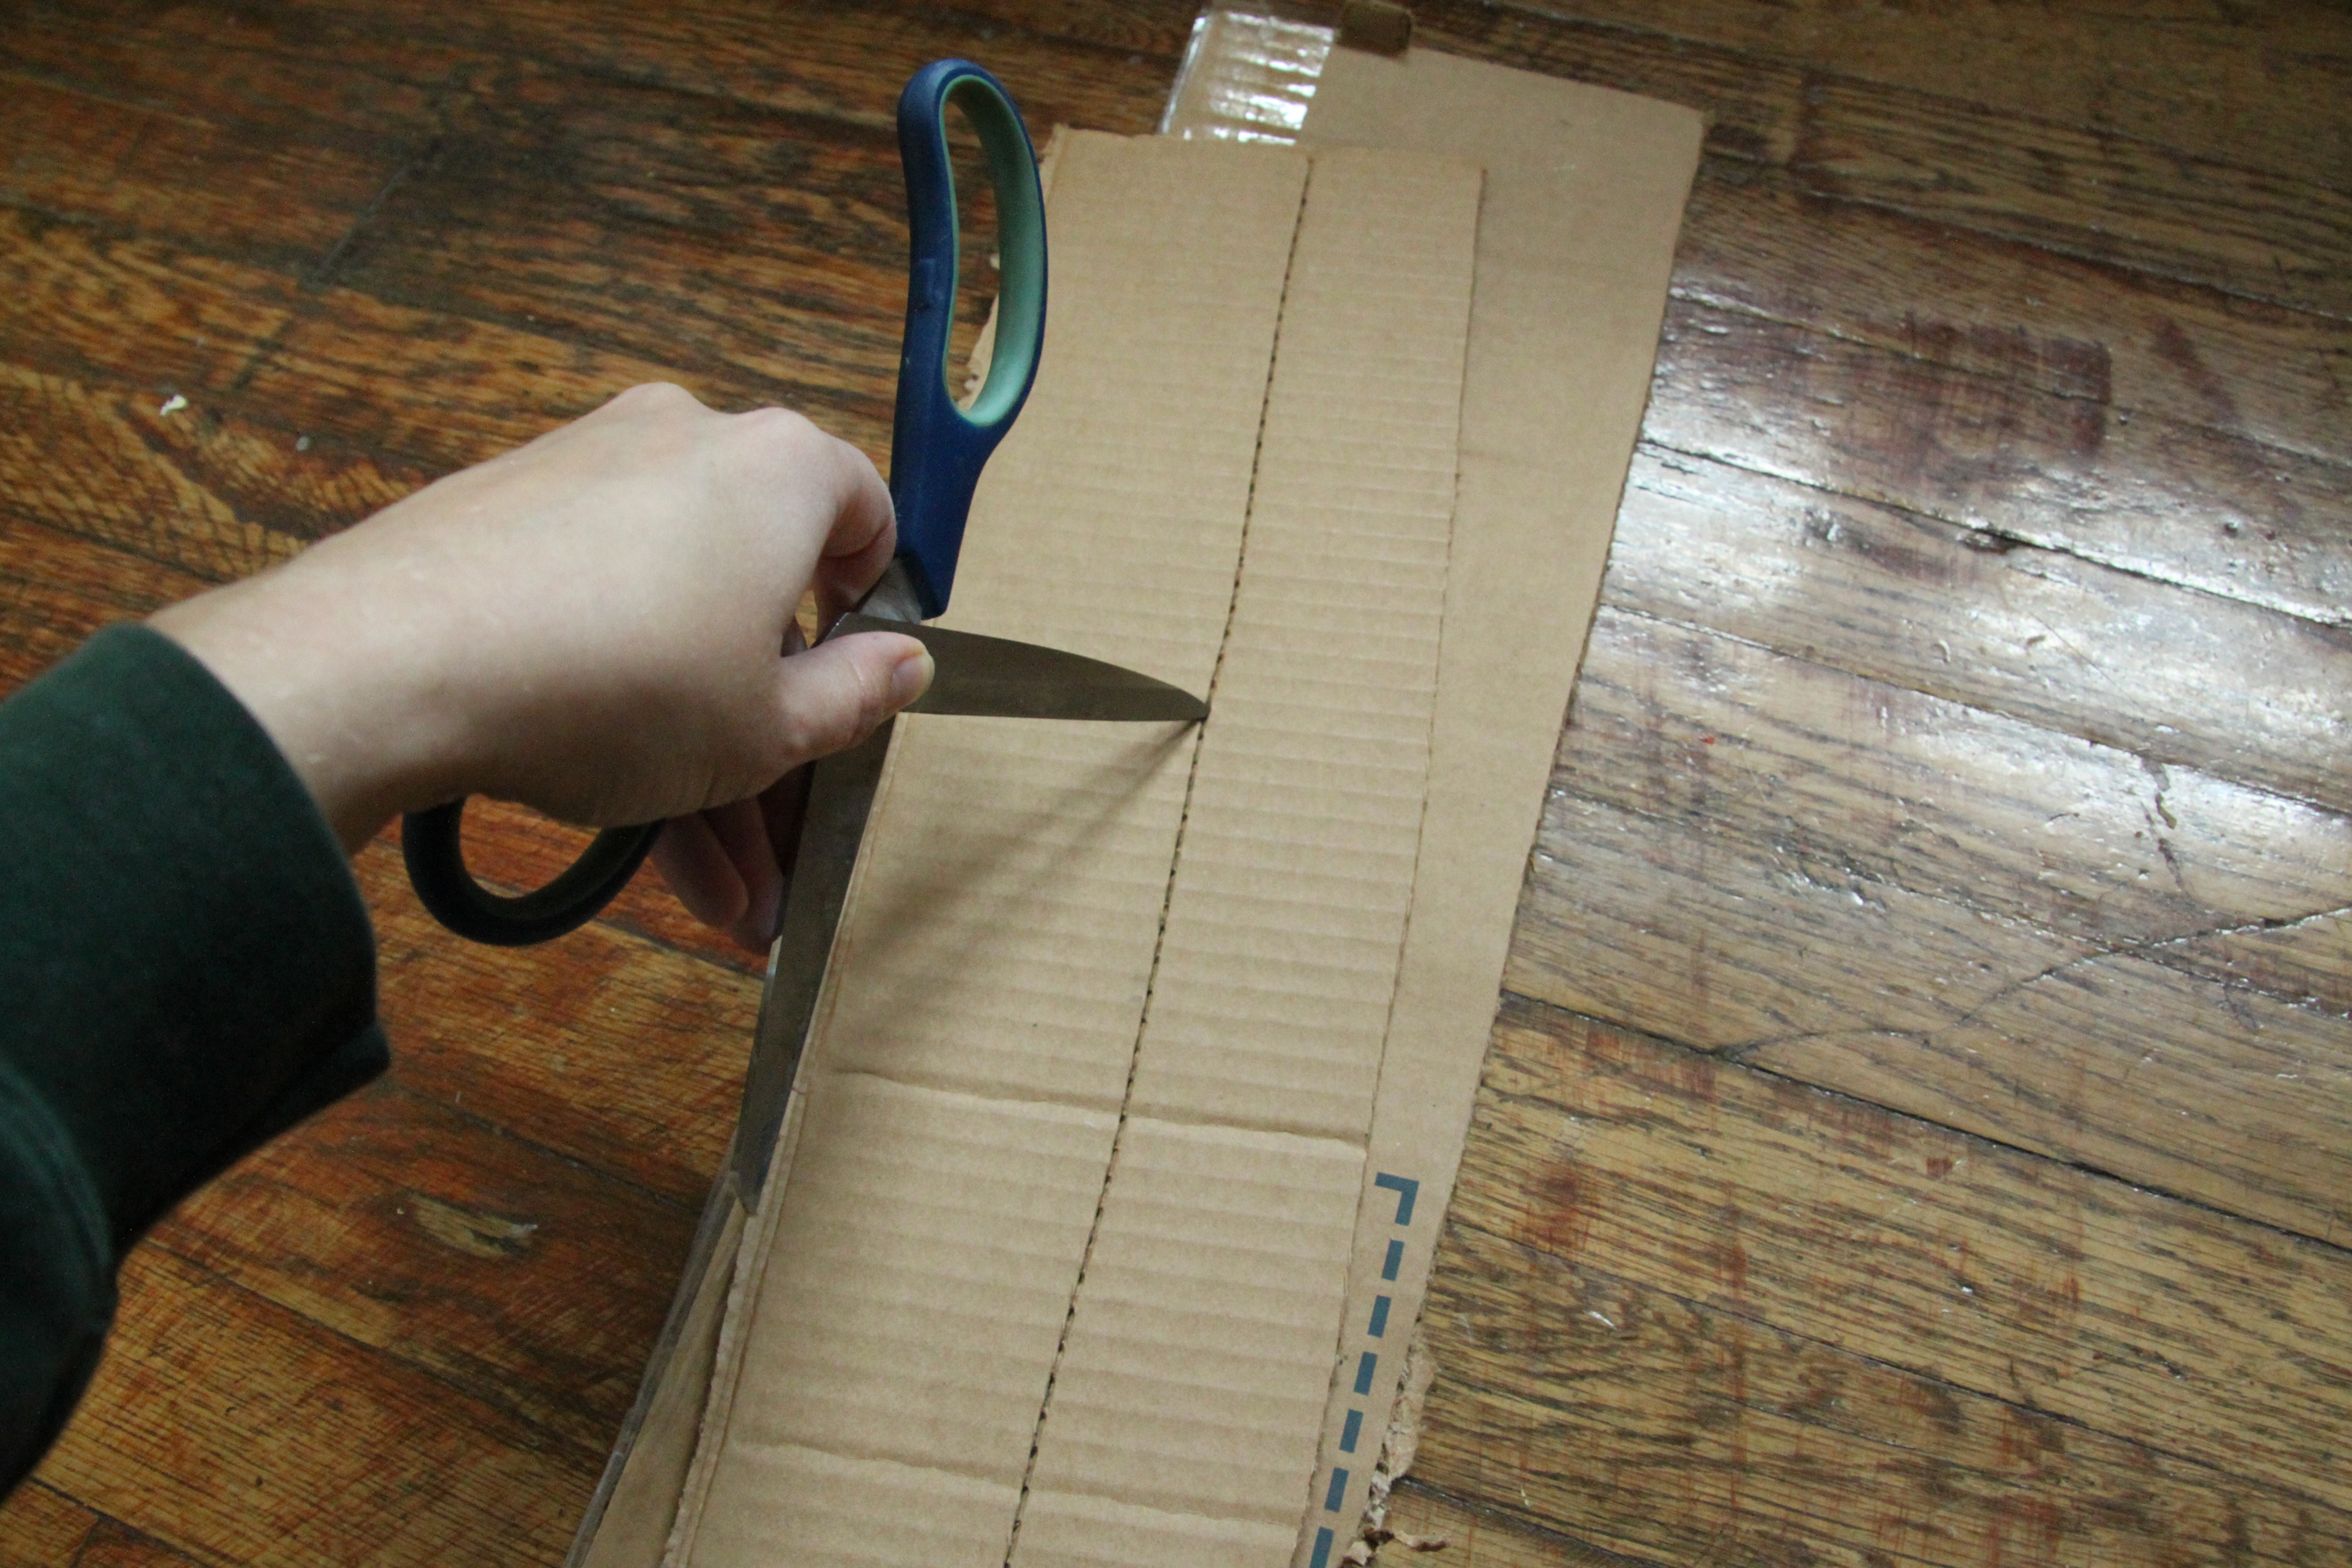
- Once you have decided on your dividing schema, cut your box so that one long side is cut away from the rest. Try to minimize any bending caused by cutting–once bent, the cardboard will always be weak at that spot. The long side is what is missing from this picture:

- Hold the cardboard piece up to the drawer to determine where to cut for it to fit. You want it to be pretty snug, although the tape will hold it in place. If you need to determine the length you need for a piece that will go to the back of the drawer, either remove the drawer from its home or use a measuring tape (or just wing it).
- Cut your piece to size. The easiest way to get a good edge is to score the cardboard several times with your scissors. It may not be straight, but that’s no big deal. (I recommend scoring the cardboard on top of another piece of cardboard as to not damage whatever your workspace happens to be.)
- Fit your cut piece into the drawer and adjust the height using the same technique. Make sure the drawer closes without issue.
- Secure the cardboard with tape wherever it comes in contact with the drawer or other pieces of cardboard.
- Reload your stuff into the drawer and adjust where needed. Try to consider how often you use different things in addition to how it all fits together. I ended up switching the bench scraper and the scale because we use the scale fairly frequently. Bench scraper, not so much (although very handy!).
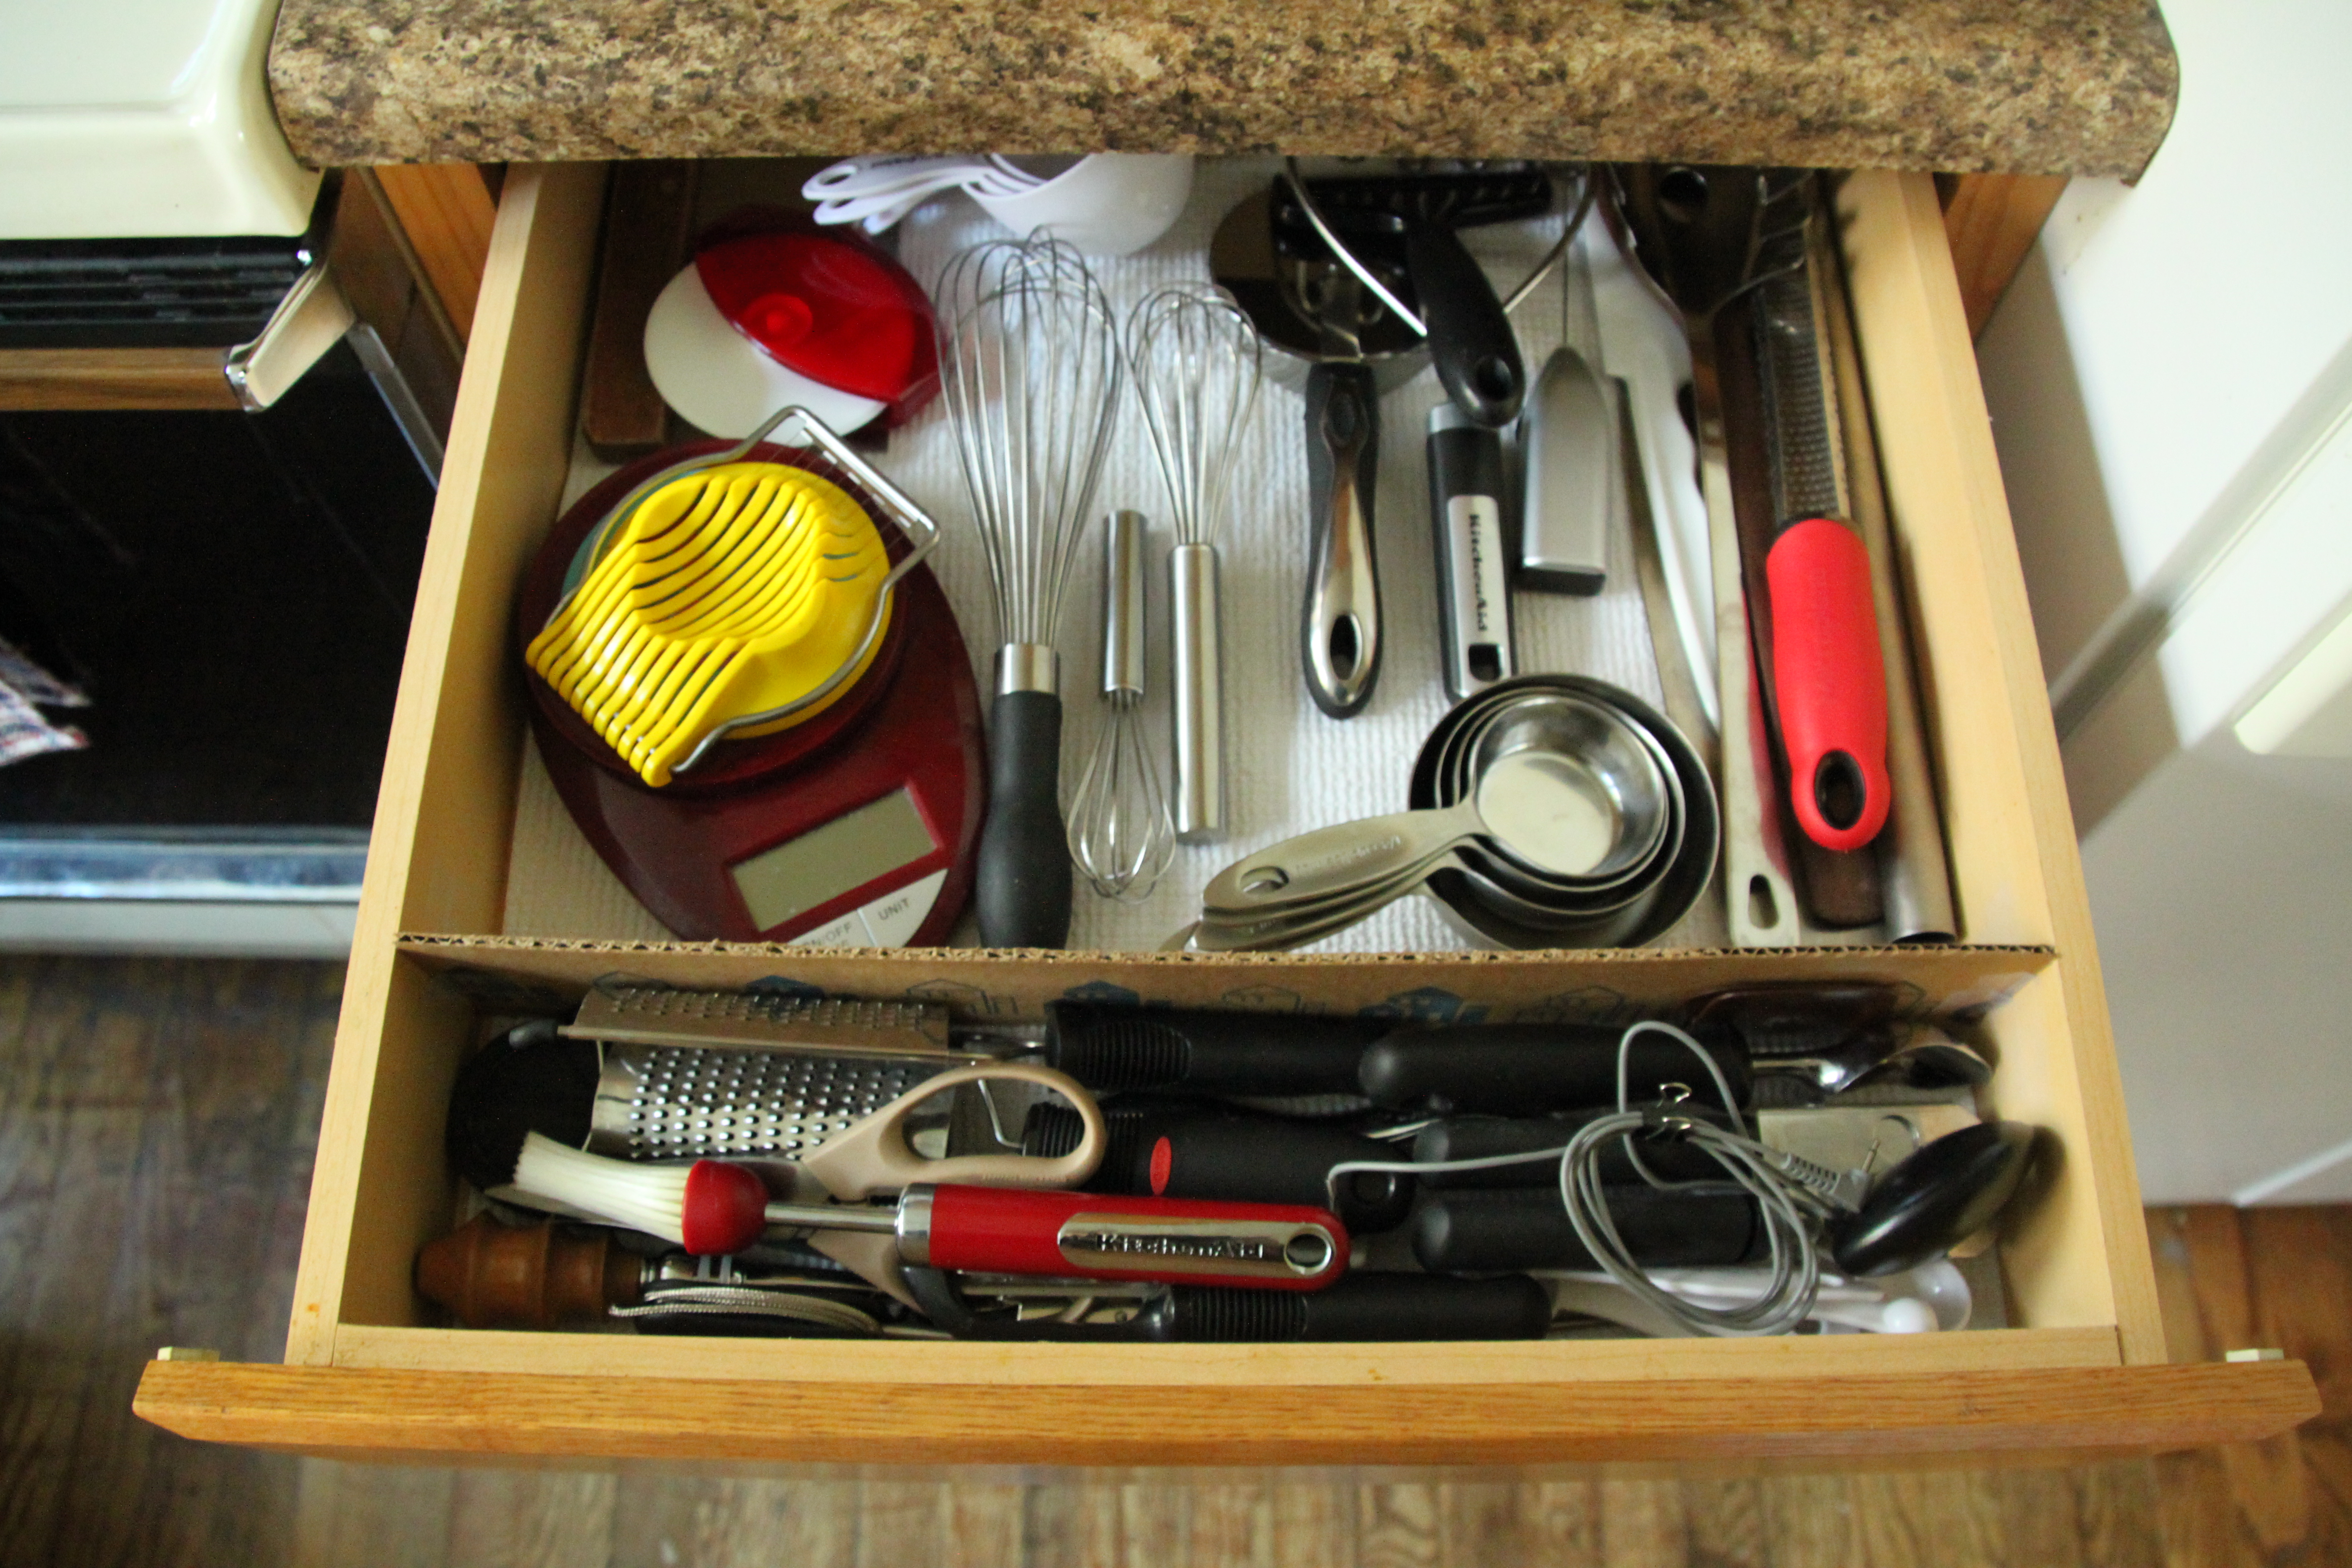 While that little bit of divided drawer doesn’t look like it’s very organized, it has made a world of difference in my daily cooking life. The bigger things were never the main mess culprits, so corralling all the little dudes was all this drawer needed to be happy again.
Now that we’ve had it in place for about a week or so, I can confidently say that shelf liner that isn’t sticky is pretty much the worst for use in drawers. The tape I used to secure it before putting in the cardboard divider is not holding and it has begun its madness-inducing scrunch towards the back of the drawer. (Every time the drawer is pushed shut, all the stuff shifts with the force of the push and the shelf liner scrunches up underneath it all.) I’ll likely have to deal with that problem in the near future, but the cardboard divider is working out quite nicely!
I know it might seem strange, but I think this cocktail fits this little project perfectly. When I went looking for inspiration in the history of the cardboard box, I found the Sherlock Holmes story called “The Adventure of the Cardboard Box.” It involves the murder of a couple and the main clue in the case is a cardboard box that was used to ship the ears of the couple to the woman’s sister. So gruesome! How could I pass that up?
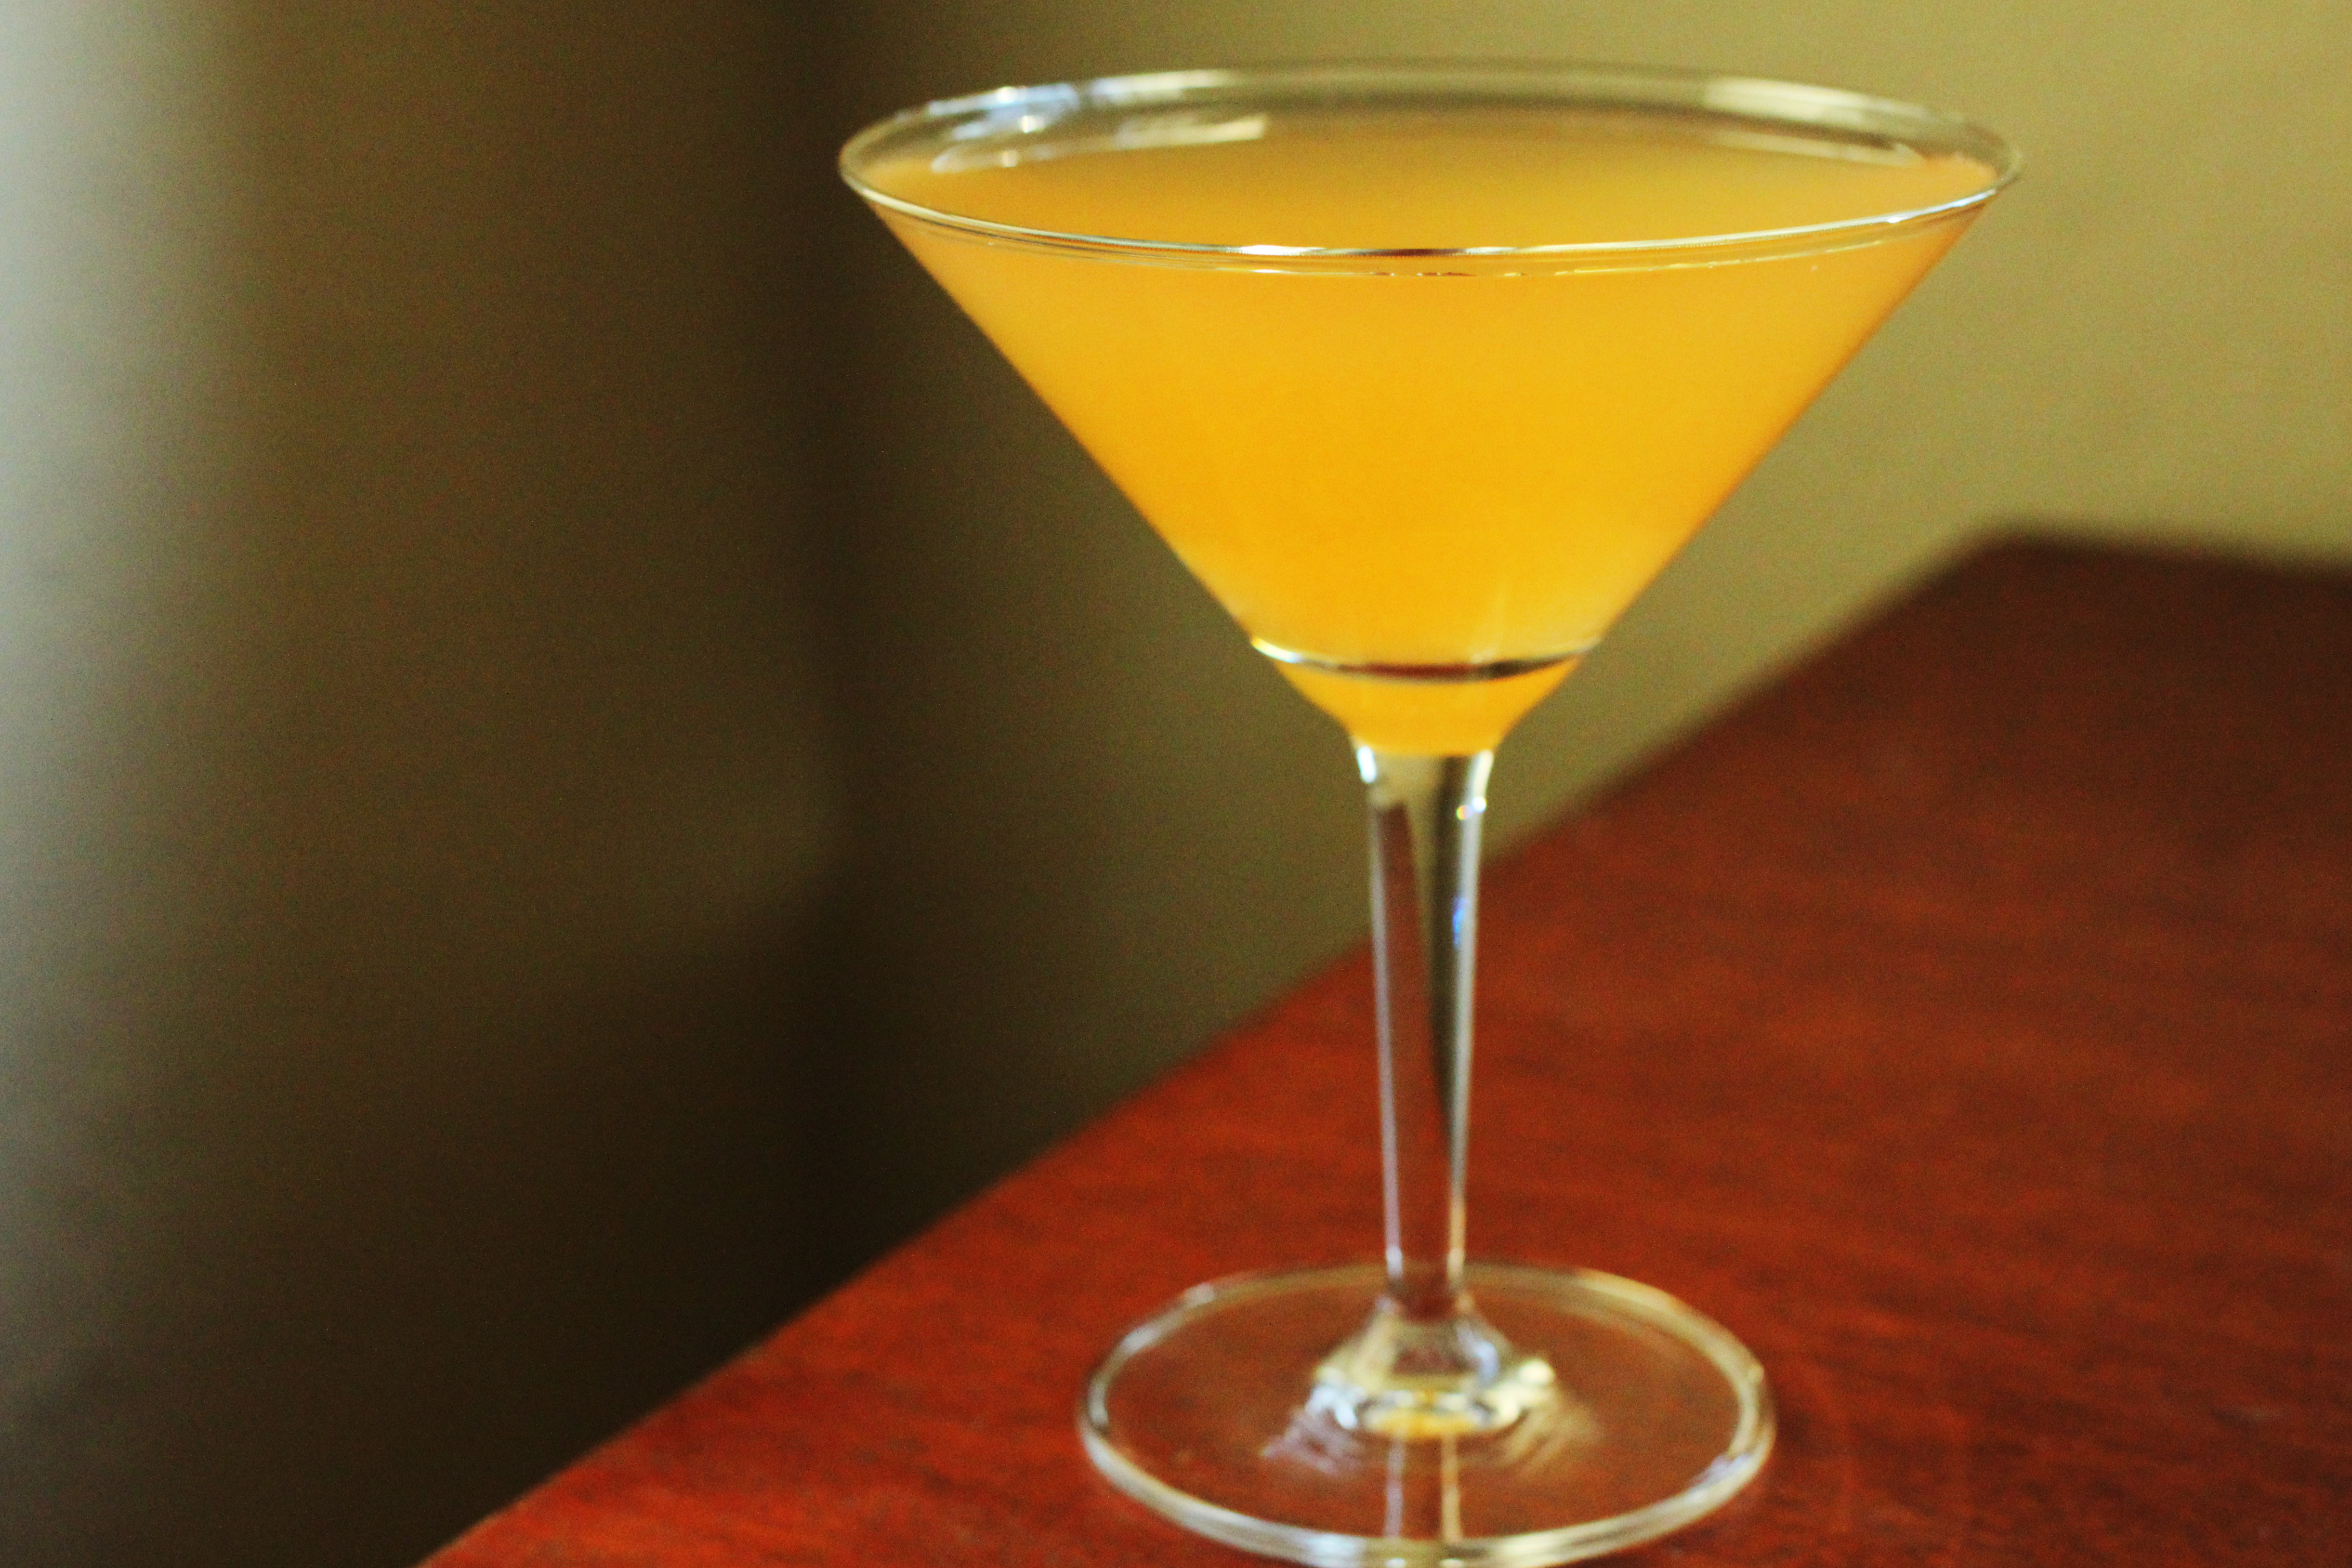
Anyhow, I then went searching for Sherlock-themed cocktails and I found this one. It is certainly British enough and I think it has that comforting feel of a hot toddy (although served cold), which is very similar to how comforted I feel when I have set a mess to rights.
Ingredients:
- 1 1/2 oz. single malt scotch
- 2 oz. brewed, chilled Lapsang souchong tea (apparently Sherlock’s preferred brew)
- 1 oz. honey syrup (honey and hot water, mixed)
- 3/4 oz. lemon juice
Brew the tea and mix up the honey syrup and allow to cool. Combine the ingredients, stir with ice, and strain into a coupe. Or the fancy new martini glasses that we just got as a birthday present. Whatever floats your boat.
 Lapsang souchong is a special variety of black tea that is smoked with pine smoke as it dries. That process gives the tea an amazing smoky flavor and aroma, which pairs nicely with the scotch. It really is like a cold version of a hot toddy, but the smokiness makes it seem like you are also sitting next to a campfire while drinking it. Highly recommended. I wasn’t planning to seek lapsang souchong out for this cocktail, but I’m lucky that I didn’t have to–Twinings makes some and it was available at my local megamart. Well worth the minimal effort, but I’d say it would still be worth seeking out if not easily found on your next trip to the grocery.


