Jump to Cocktail Recipe
 Our living room is slowly coming together. We had the couch, and we have cocktails, so I thought we were all set. But after a few lazy days of couch lounging, pillows jumped their way to the top of our priority list. Turns out neck support = happy lounging. We shopped around online, but decorative pillows are pricey!!!! Like $40 for something really simple from Crate & Barrel! Of course there are your bargain stores like Marshalls and HomeGoods, but I wanted a specific look and I wanted real feathers. So, as we do here at Hooch & Home, I set out to see how easy it would be to make them myself! As always, it wasn’t as simple as the internet said it would be, but I am pretty happy with the end result.
Make Your Own Decorative AND Comfortable Pillows
 You’ll Need:
- Pillow insert – I got mine from Blowout Bedding for $15 an insert (go with feathers not synthetic – I think they hold up better over time and can be easily washed in the washing machine).
- A tightly knit cotton fabric to line pillows cover (to keep feathers inside the pillow – if your fabric is heavy enough, this may not be necessary, but I hate being poked by feathers so I did this even though I got very heavy fabric)
- Fabric for the pillow cover
- Sewing Machine
- Needle and thread
- Pins
- Scissors
- Sharpie or chalk
- Large surface – can be your floor, table, counter, etc.
- Measuring tool like ruler, measuring tape, etc.
- Patience
 Making the pillow:
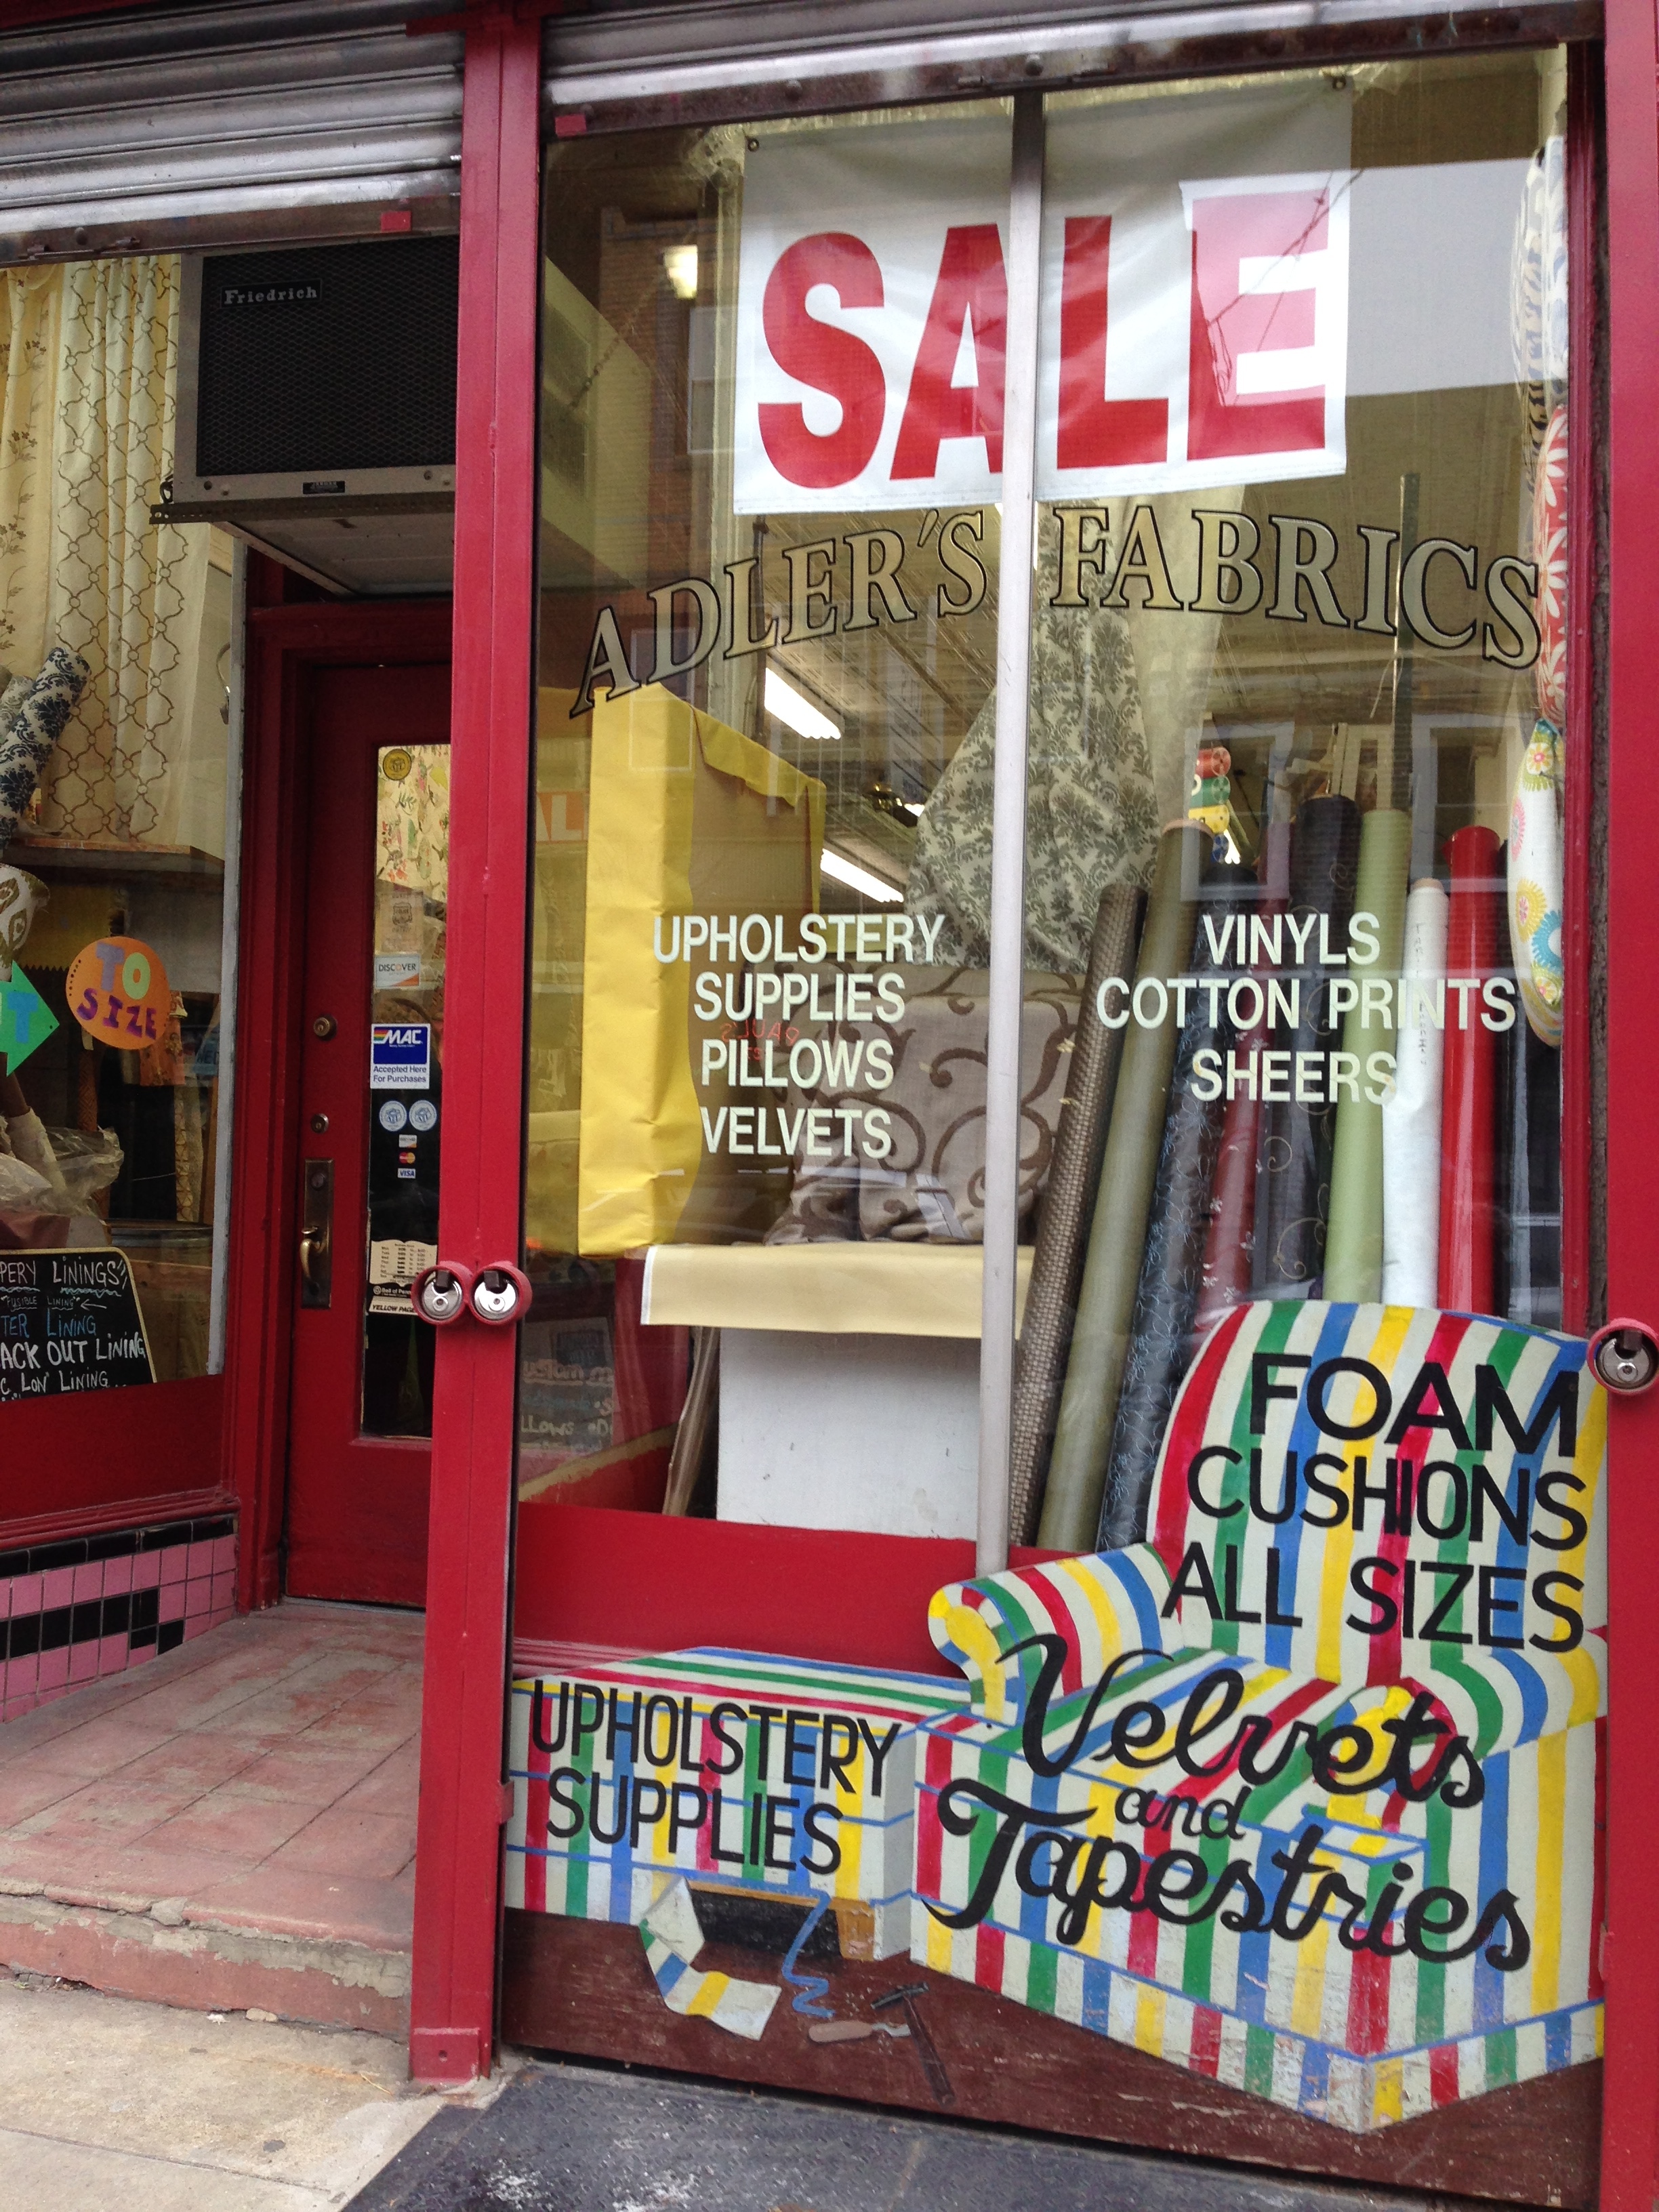
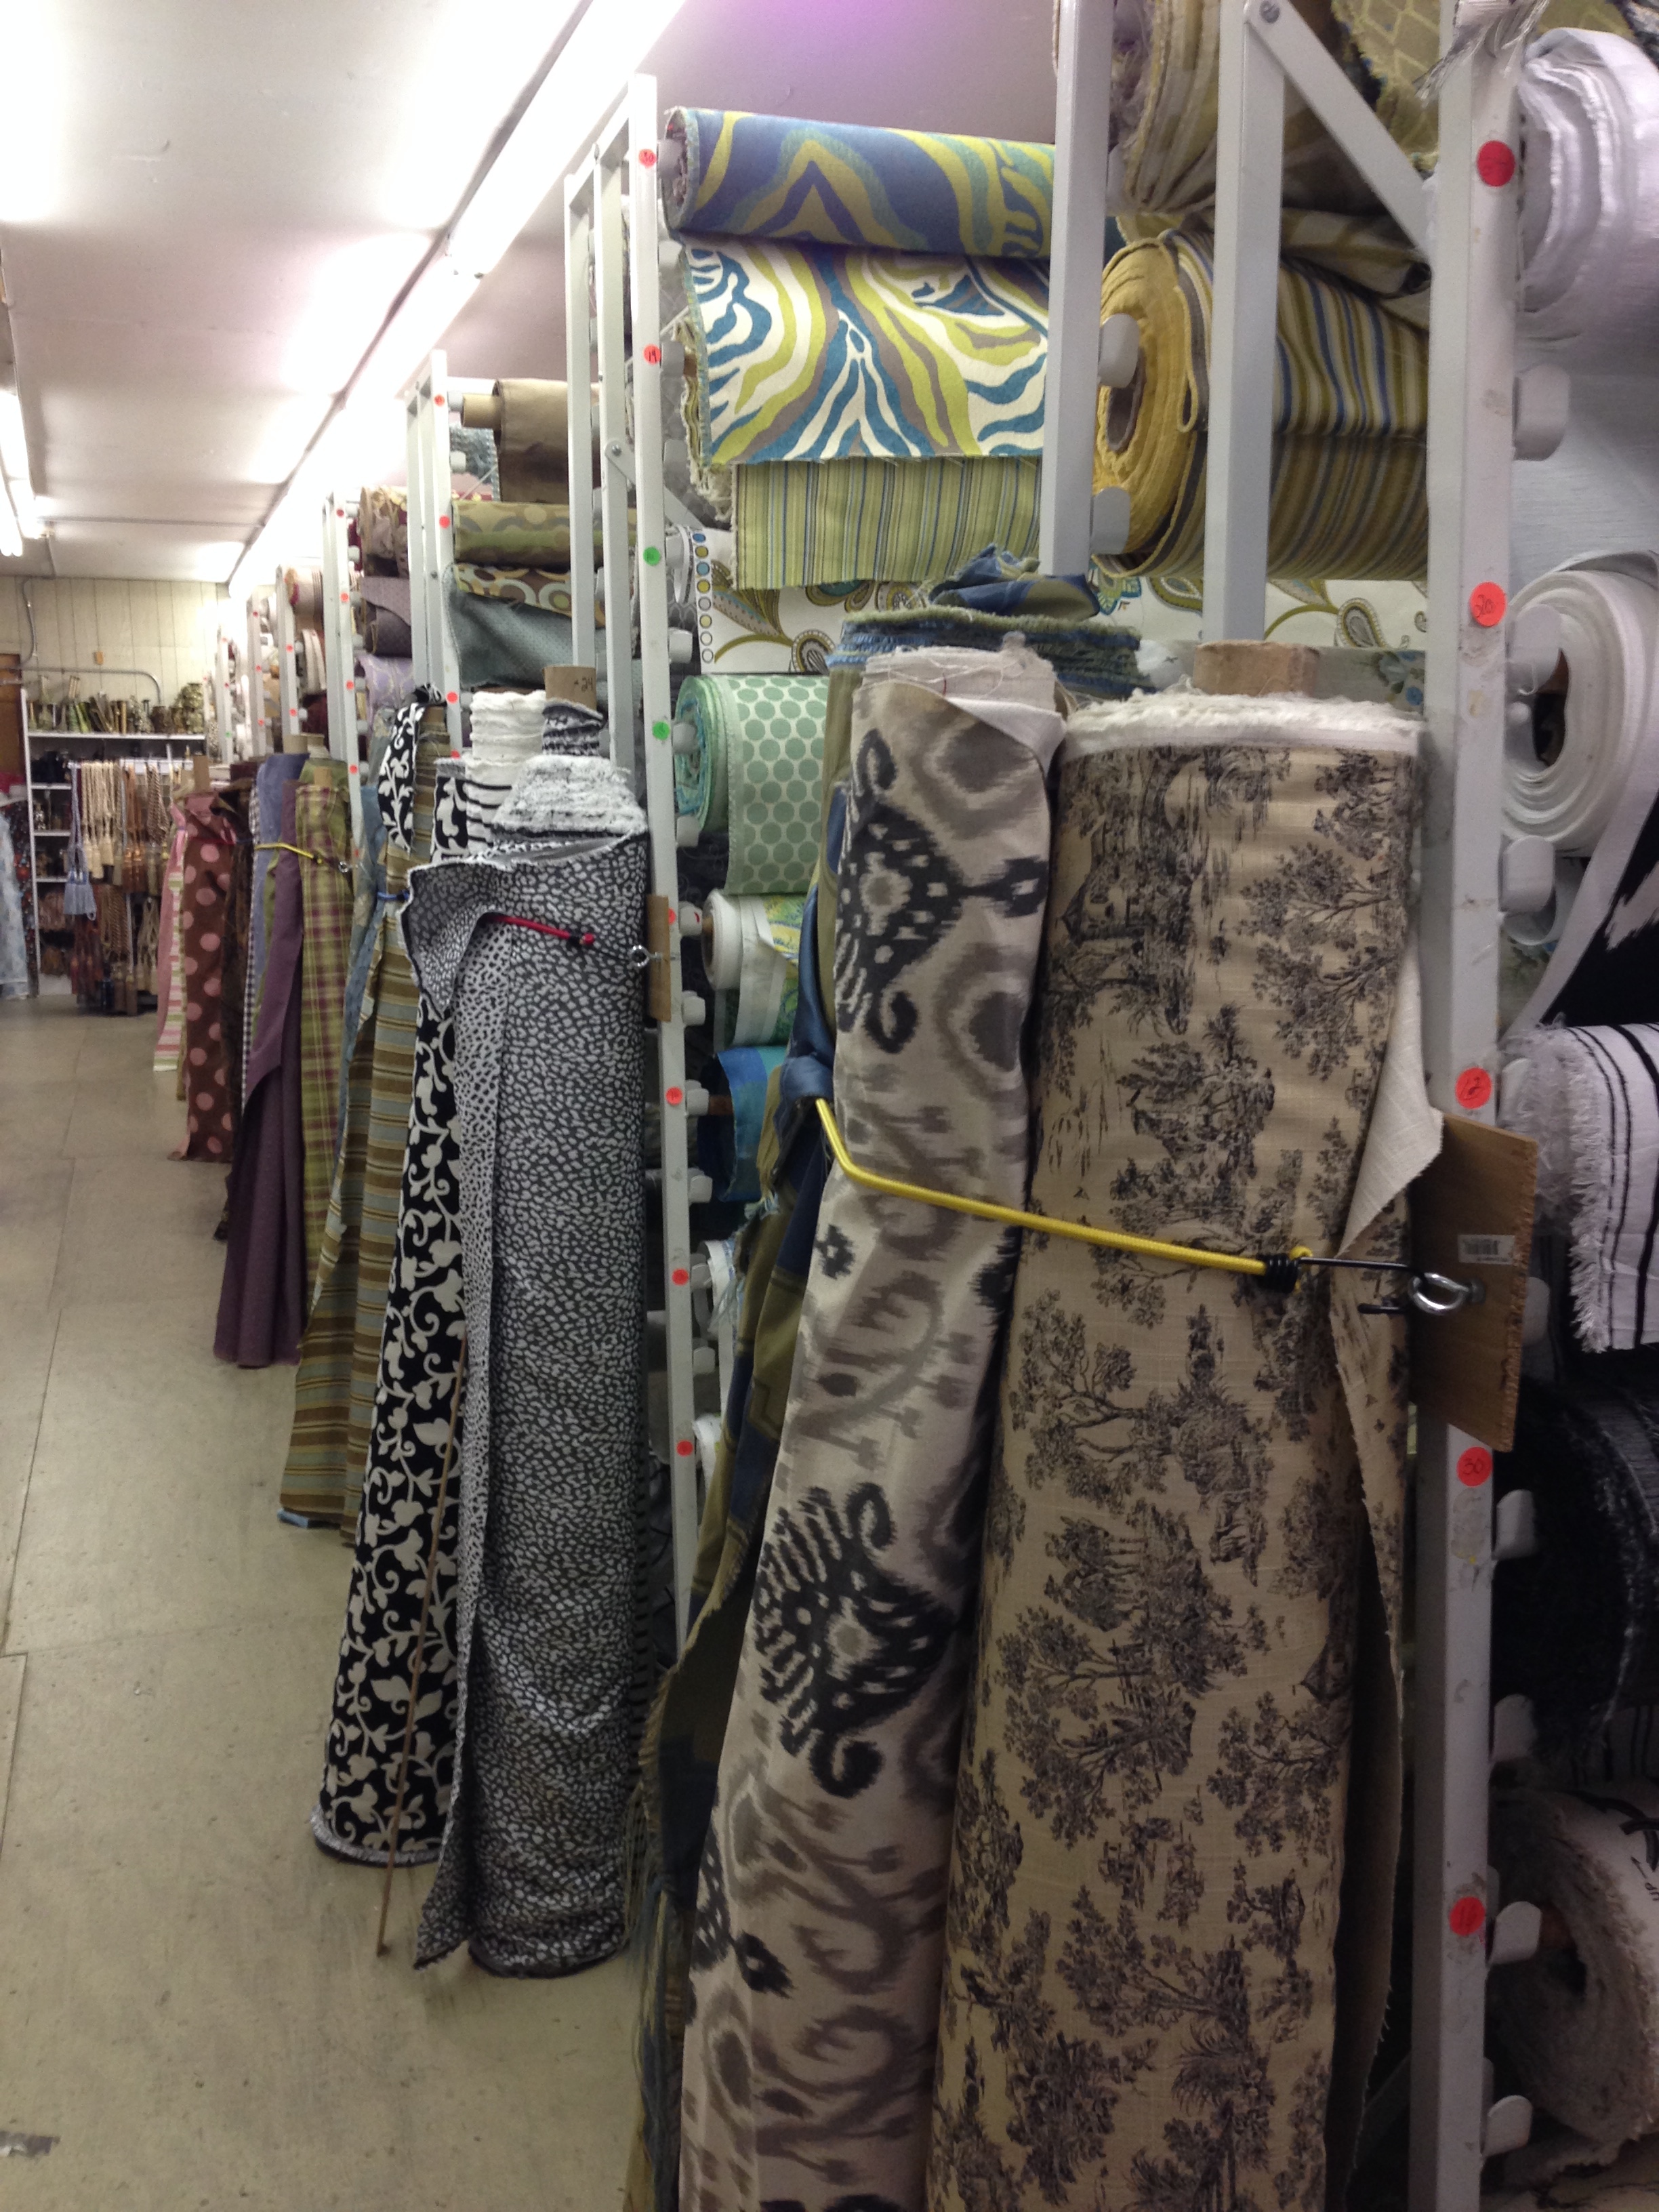
- Buying fabric – I’m sure this can be done on the internet, but in Philadelphia we have the famous fabric row. Its like being transported to another era as you walk down aisles of sumptuous fabrics, with heavily accented sales salespeople offering advice and pushing their wares on you. You can make pillows out of any fabric, but we went for the heavy stuff that can be used to make curtains or to upholster furniture. This choice was based on the desire for durability and aesthetics. A good rule of thumb is to buy 1 yard for every two pillows you want to make if your pillows are going to be around 22 square inches.
- Once you get your fabric home, the first step is to measure out your fabric. I ordered 24 square inch pillows. Turns out that is really big. I also wanted mine to be overstuffed (no limp pillows in Casa Rolf!), so I decided to make a pillow that was around 22 square inches. I measured out 23 square inches of fabric using a measuring tape and marked my edges with a sharpie. If you have chalk use that for obvious reasons.
- The liner – If you are doing a liner you have two options. You can sew a separate pillow case made out of the liner, place your pillow in said liner, and then place the whole thing inside your pillow. This is what I did. OR you can sew your liner directly into your fabric. If you aren’t planning on changing your pillowcases often or ever, I would recommend sewing the liner directly onto the pillow case fabric. It would save time, energy, effort and frustration and make stuffing the pillow into the pillow case much easier.
- Once you have two pieces of fabric that are cut to the same size, place one on top of the other. IMPORTANT: make sure the right sides (what will be on the outside of the pillow) are facing each other and the wrong sides (what will be on the inside of the pillow) are facing out. If you are sewing the liner directly to the fabric you will want a fabric sandwich with pieces in the following order from the bottom up: liner, pillow fabric with decorative side facing up, pillow fabric with decorative side facing down, liner.
- Pin your fabric together spacing your pins a few inches apart all the way around.


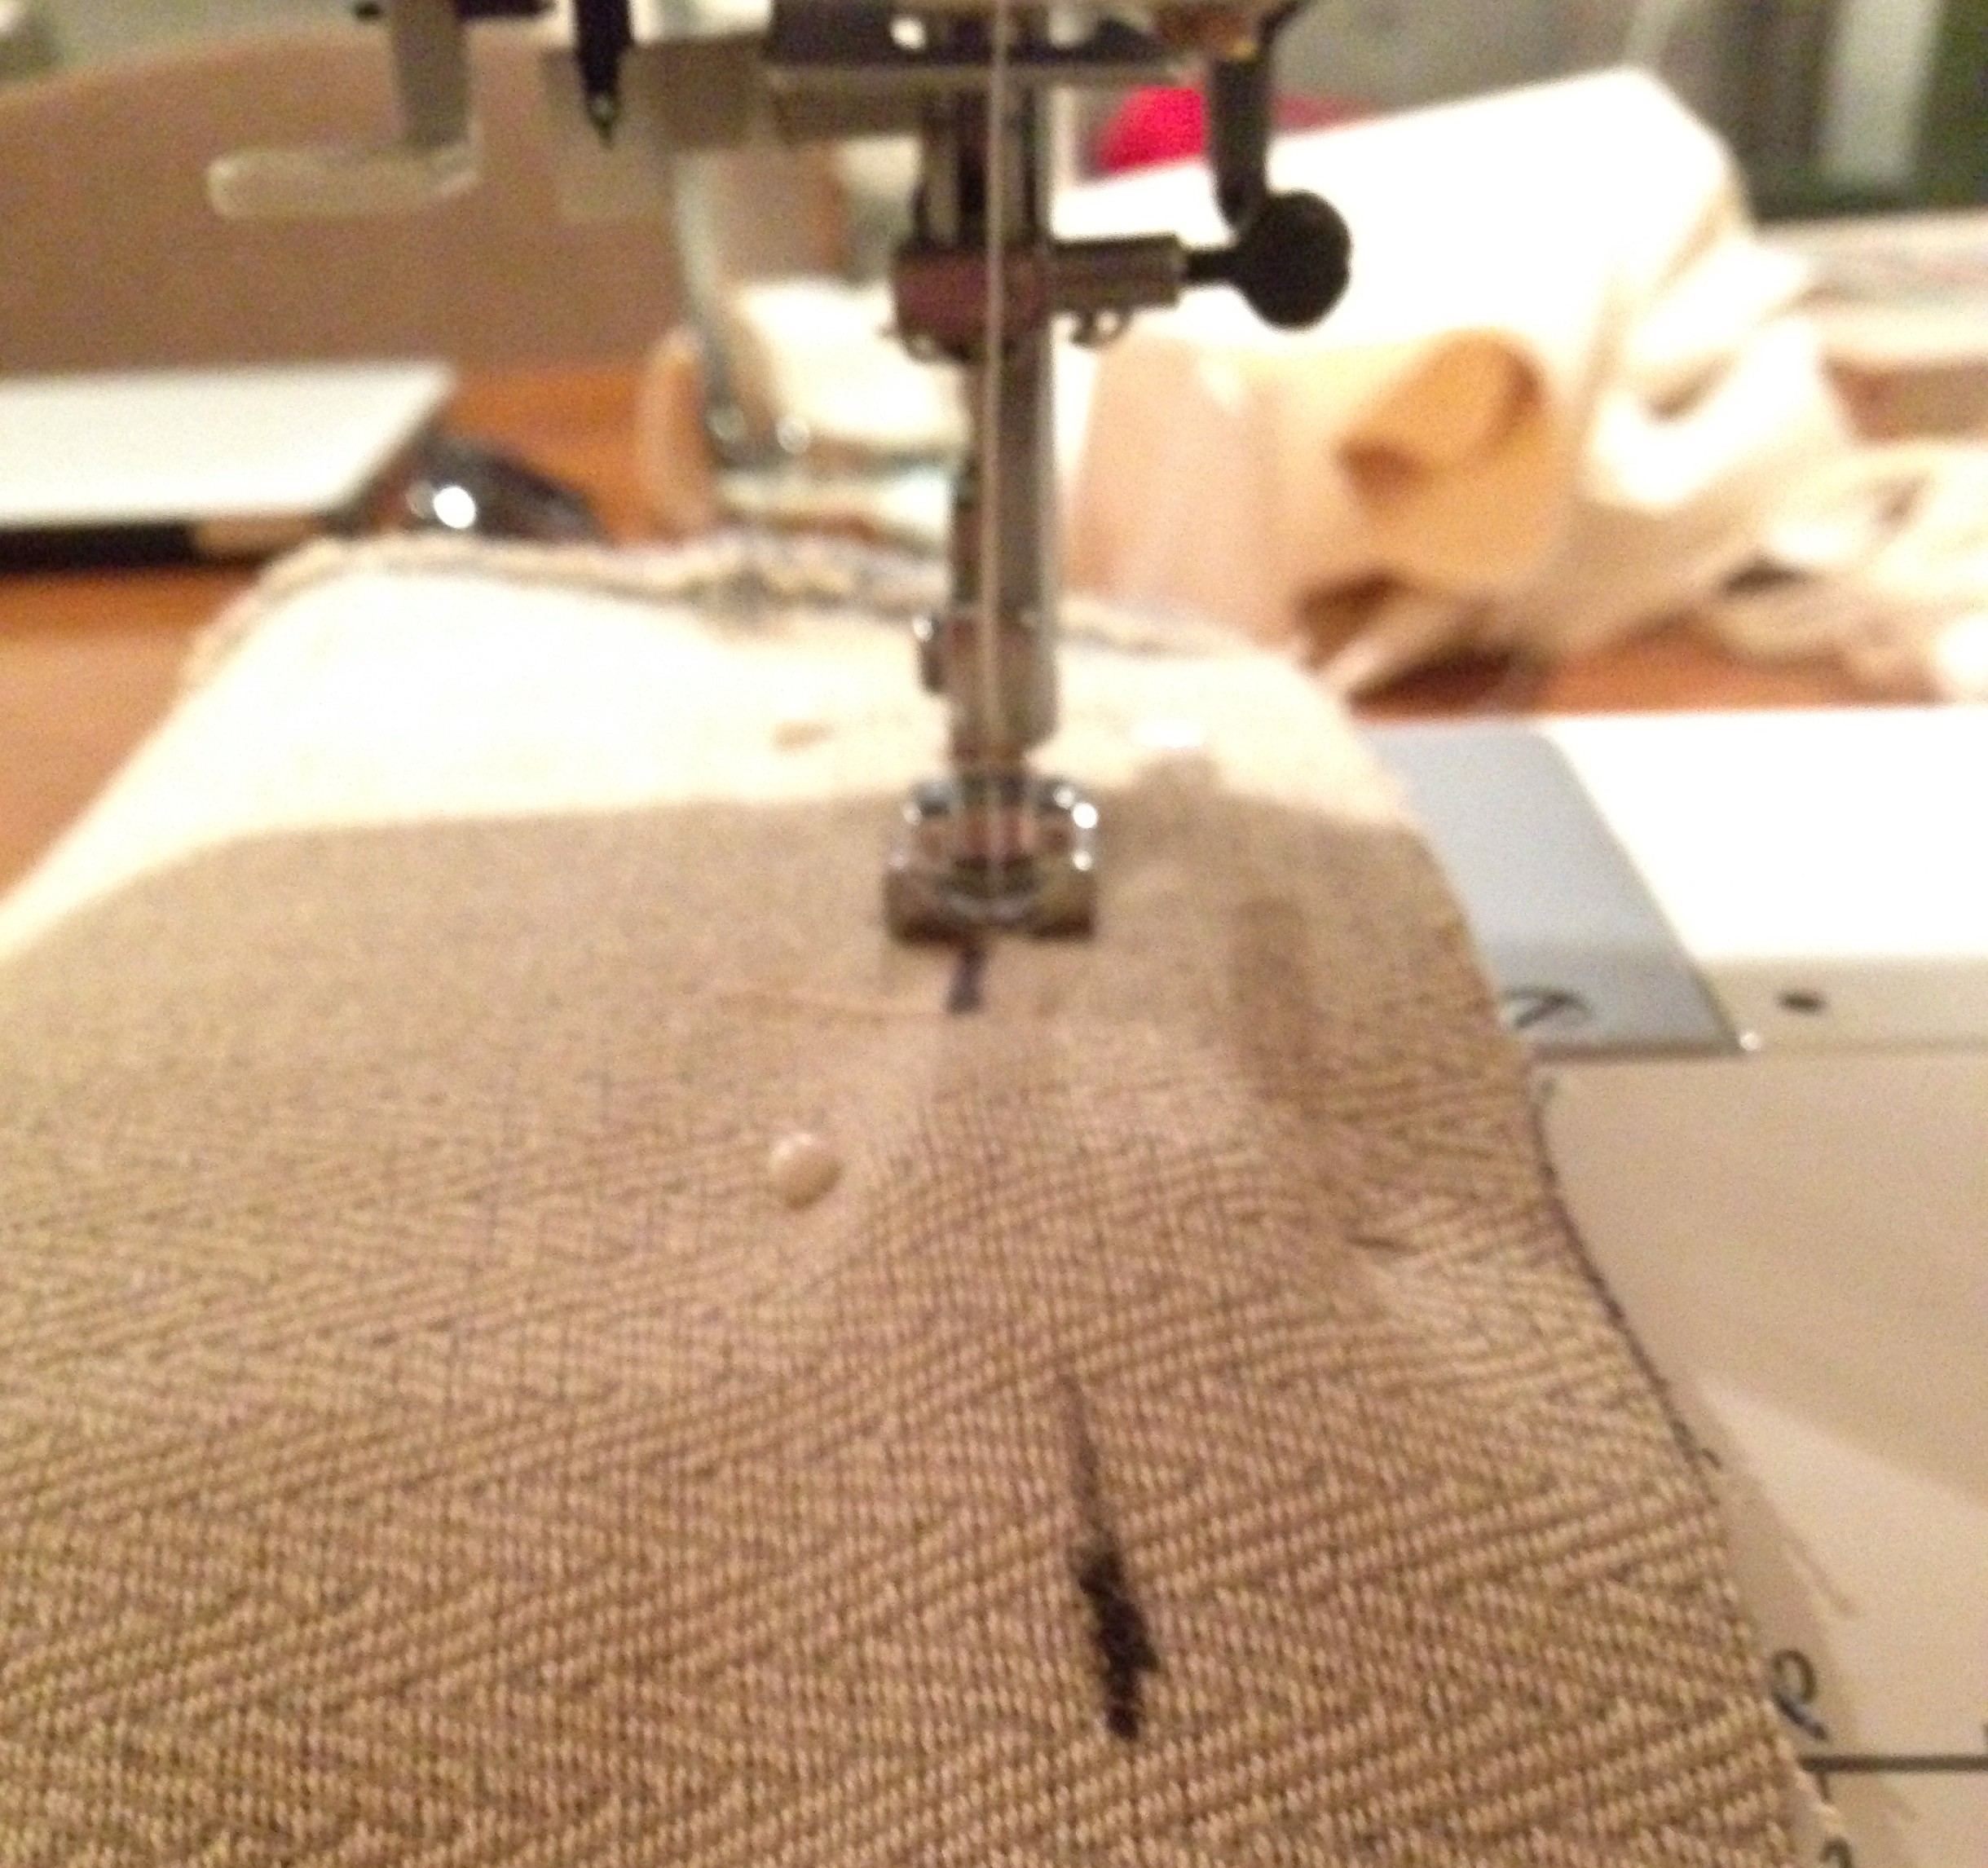
- This next part is easy. Using a sewing machine sew three sides of the square leaving about an inch border on all sides. On the fourth and still open side, using your machine sew for about three inches from each corner leaving a space open in the middle and a one inch border.
- Trim the edges using a scissor to remove excess fabric for a smoother finish.
- Turn the pillowcase inside out so that the pillowcase is now right side out!
- Stuff your pillow into your pillow case.
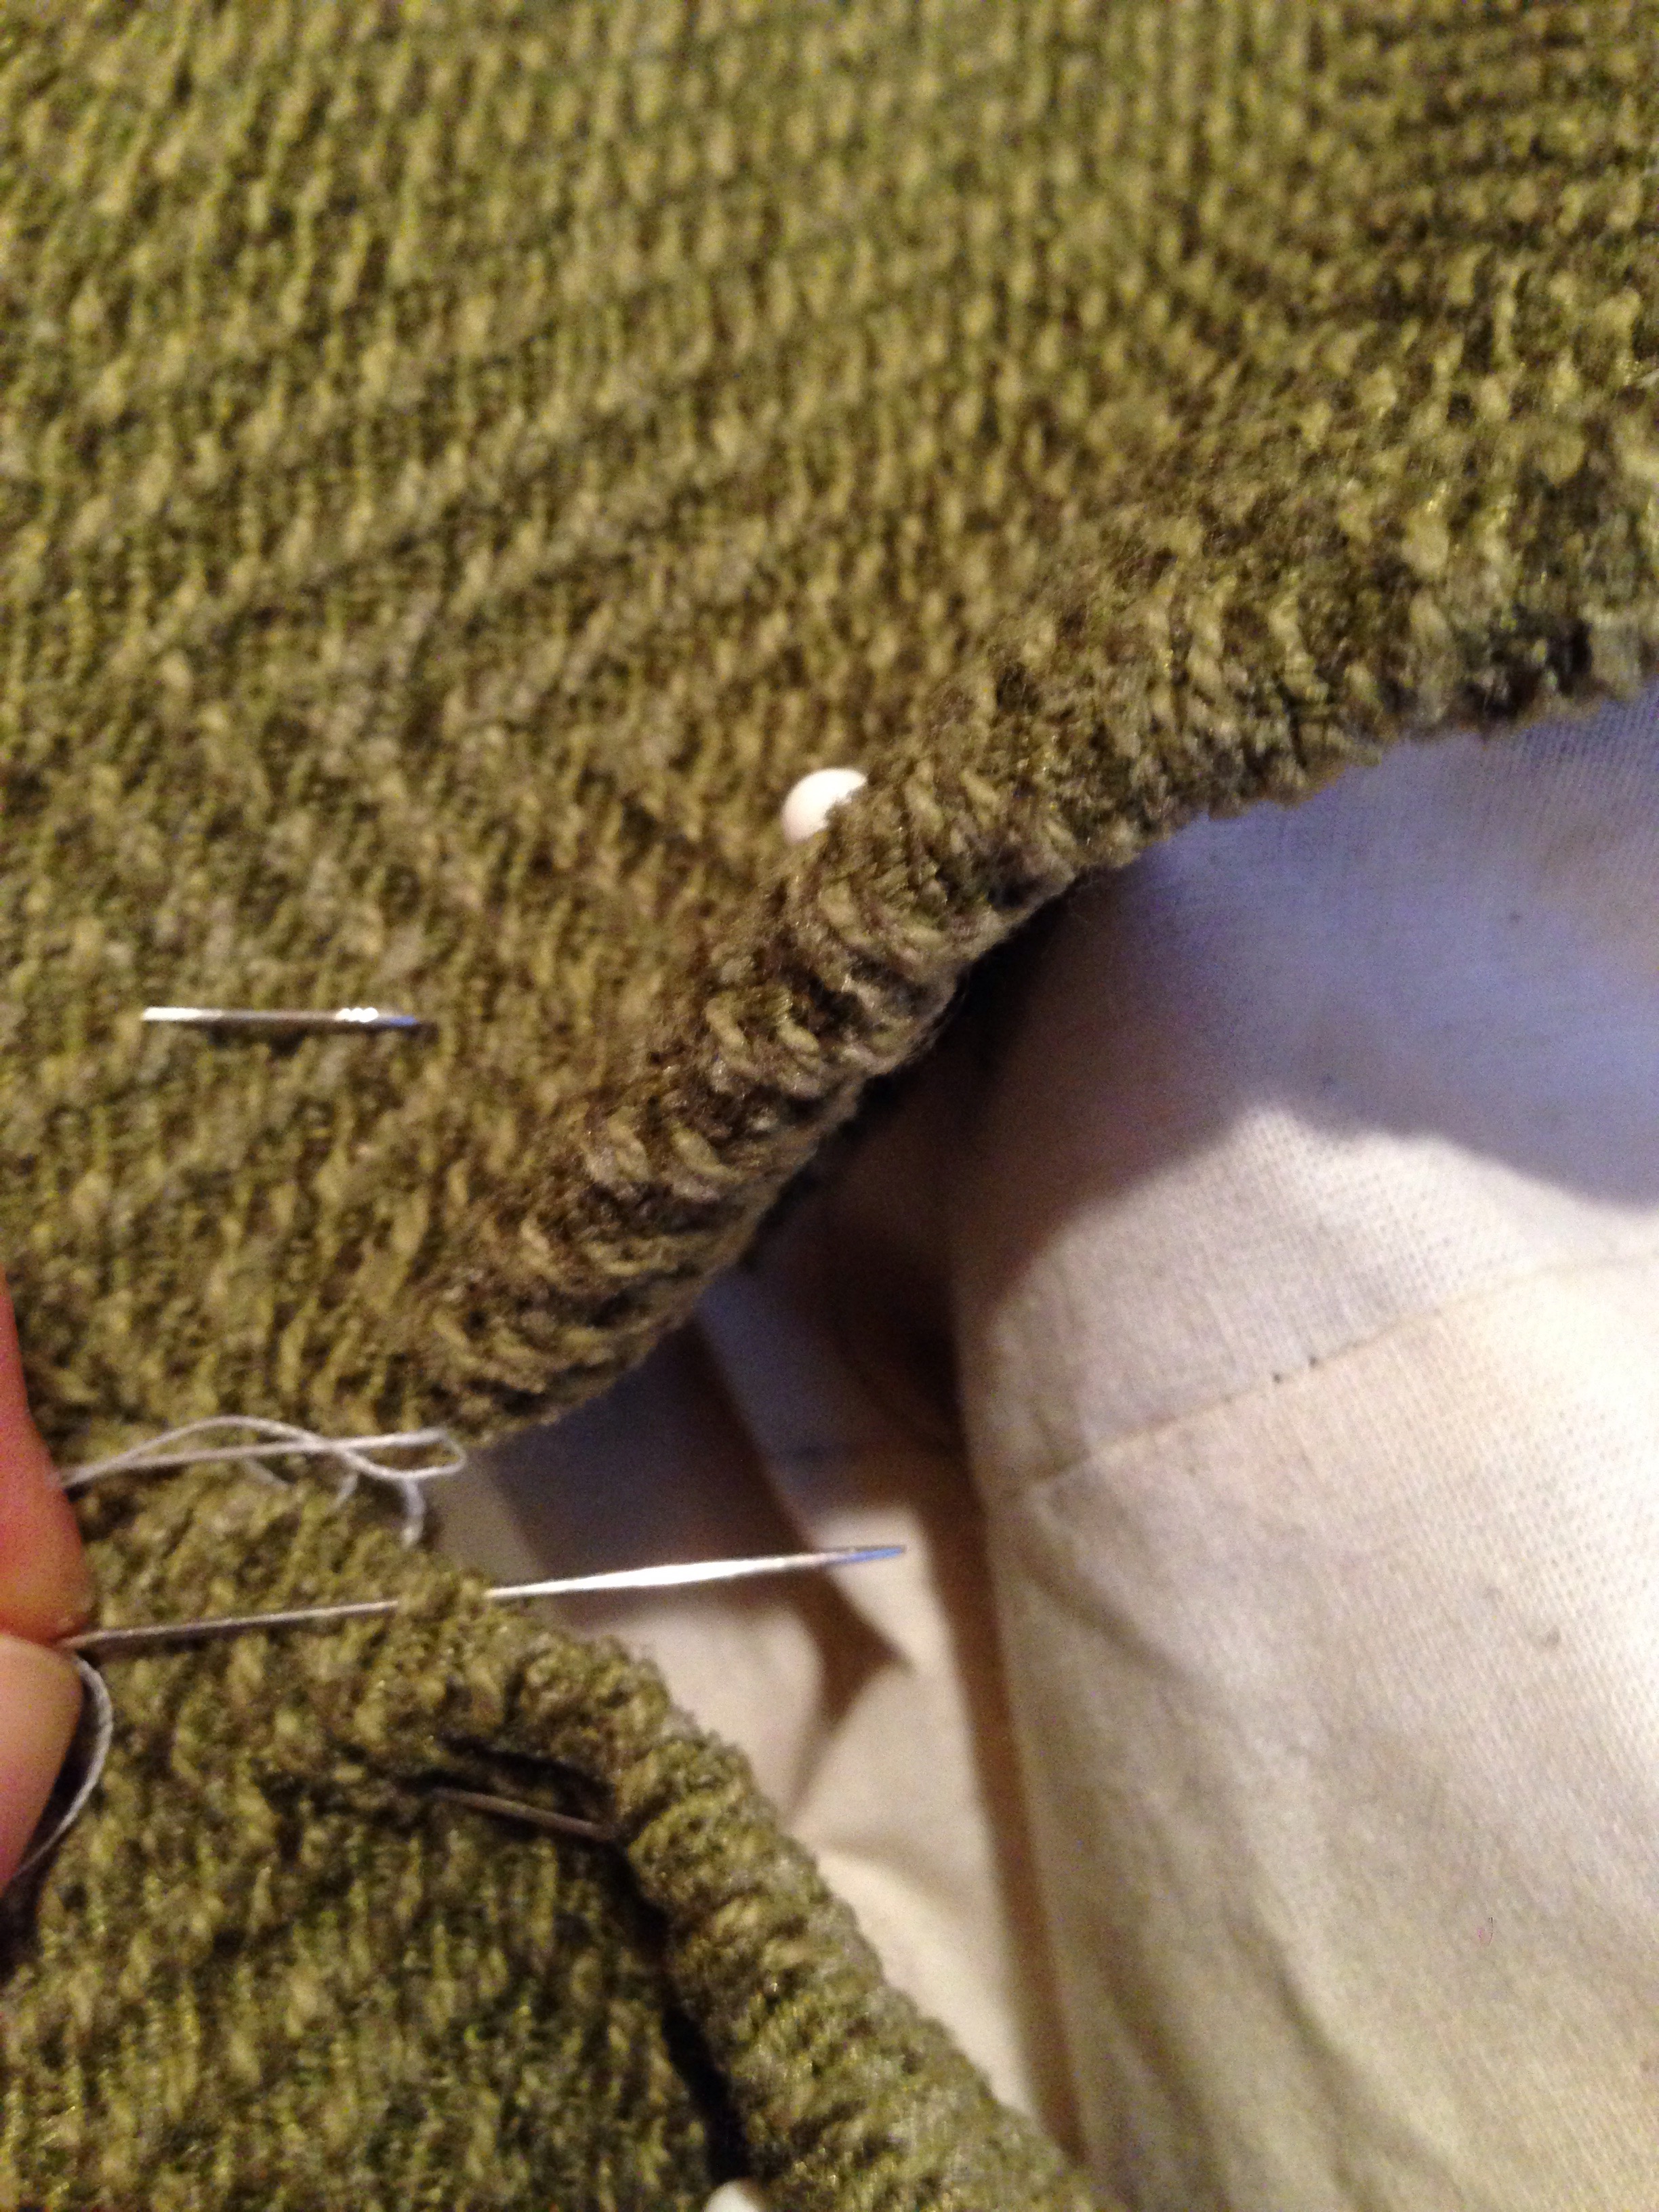
- Now for the tricky part. If you are fancy and sew a zipper into one side, you don’t have to worry about this. If you are fancy and make an envelope style pillow case you don’t have to worry about this. I don’t have those skills, so I was left with the challenge of sewing the remaining few inches closed by hand. I tried two methods. The first involved sewing wide stitches that I tugged tightly to pull the fabric inward:

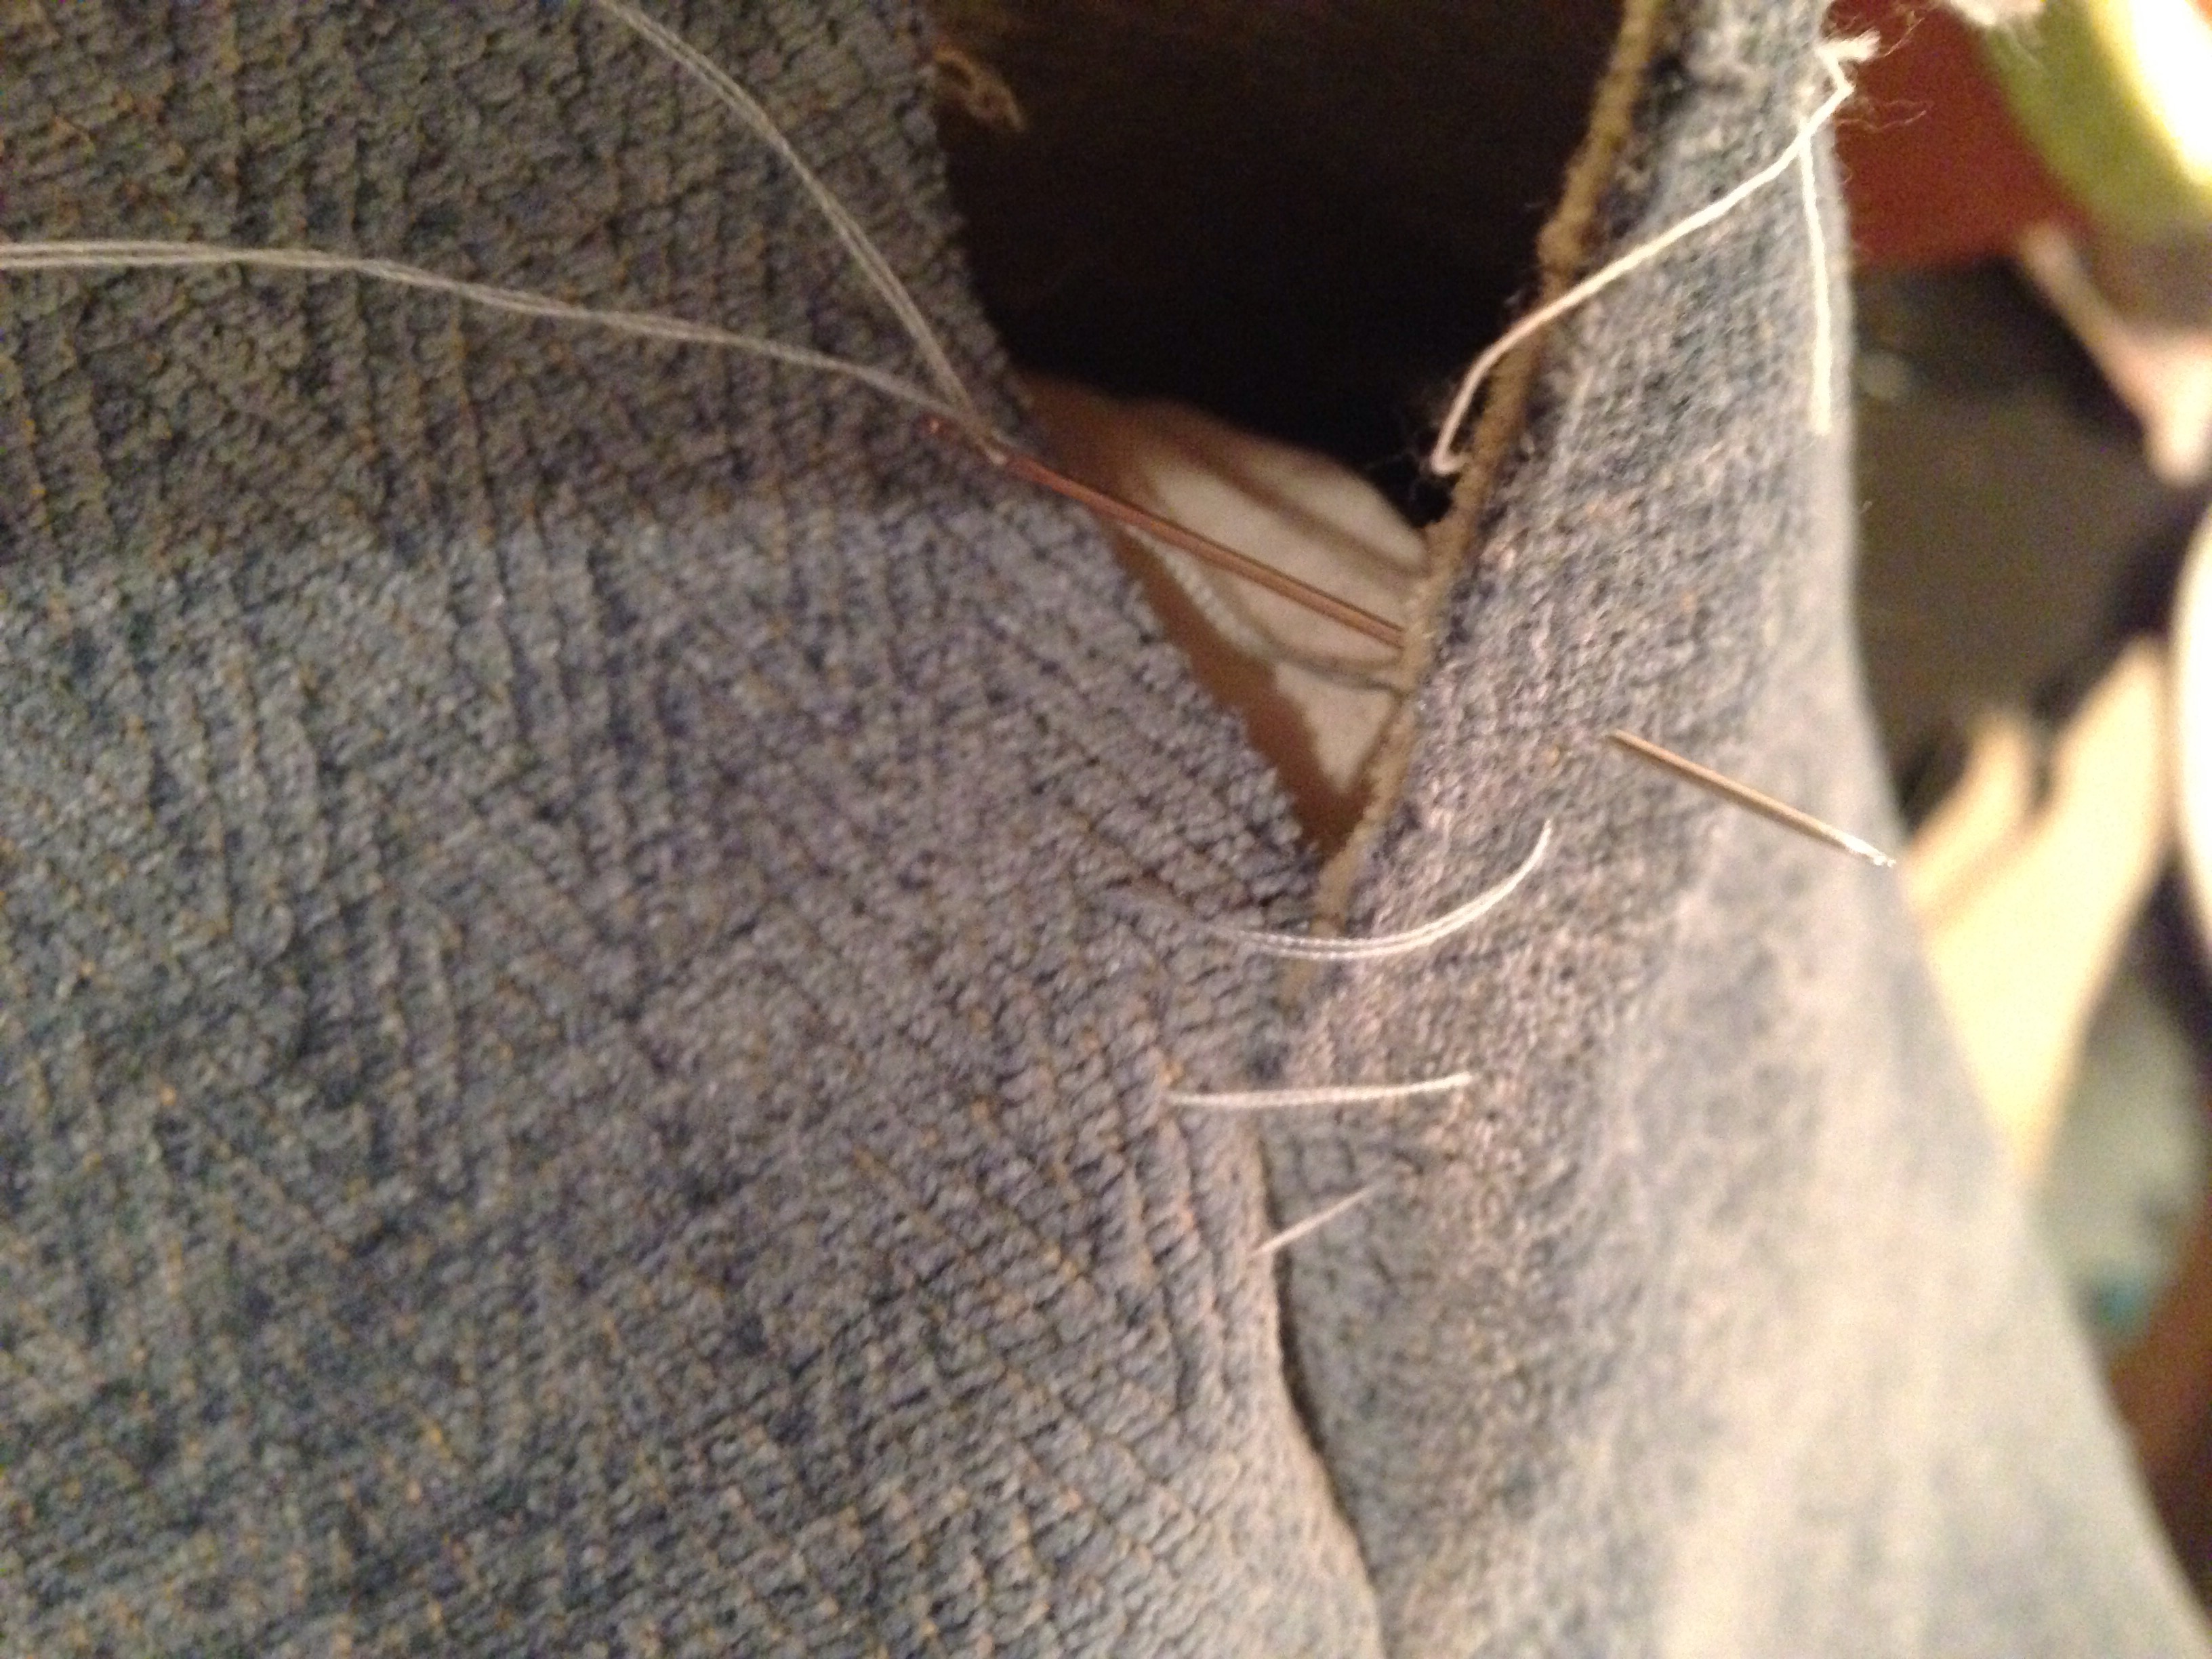
Here is the trick for this method:
- Sew up through the fabric so that the knot in your thread nestles against the inside of the pillow fabric.
- Send your needle down through the top of the fabric on the other side.
- Send your needle back through the same side right next to where the needle went into the fabric before.
- Send needle back across to the other side down into the fabric.
- Repeat.
- Pull tight as you go so the the fabric is pulled inward and a seam is created.
 Here is the trick for the other method which looked neater:
- Fold fabric under in the gap and pin

- Sew the gap closed by passing the needle through the edges of the fold in the fabric going left to right with each stitch, pulling tightly as you go to so that the thread disappears into the fabric. Keep your stitches close together and even. Tie a knot once you get to the end of the gap.

 Listen, they aren’t perfect, but nothing I DIY ever is. Let’s hope there is charm in that. Also, they cost about $30 each for really nice, sturdy and comfortable feather pillows. You can do this project for way less if you bargain shop for fabric or go for something lighter. Now I just have to finish the last two!


Wouldn’t you know that pillows and cocktails were both invented in Mesopotamia? That rabbit hole led me down a dark path to several cocktails that had to be thrown out. It pains me to even write that so you can imagine how bad they were. At the nugging of Josh and Lizzie (friend and former roommate of the H&H duo) who was visiting, I gave up on my dream of recreating that mixture of beer, wine, apple juice and honey and set my sights for something fluffy. And thus begins H&H’s adventures in egg whites!
See here for Spirited Alchemy’s guide to egg whites in cocktails. Then make this drink from Spirited Alchemy using the money you saved by making your own decorative pillows!
Ingredients:
- 2 ounces rye
- 3/4 ounce lemon juice
- 1/2 ounce maple syrup
- 1 egg white (or 1/2 ounce of egg white from a carton)
- 2 dashes of Angostura bitters
- Cinnamon
- Soda water
Add rye, lemon juice, maple syrup, egg white, and bitters to a shaker without ice. Shake well for one minute. Add ice to the shaker. Shake again to chill the drink. Strain into a highball over ice. Top off with soda. Grate cinnamon on top.


